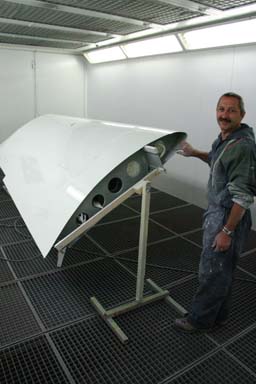
01.05.2009: 1st May is a public holiday (labour day) in Switzerland, which means we have the spray booth for our self for the whole day. This morning we checked the result of yesterdays wing painting. To say it in one word: perfect. Even Andy, our painter, was surprised about the difference it makes when you can paint in a proper spray booth. The wing stands we built helped too, as the wing can be rotated while painting. We then prepared the second wing and painted it white too. Andy was obviously satisfied again with the result, as can be seen from his smile on the picture below. The white we selected is called “pure white”, but it has some yellow in it which gives it a slightly pearly shine.
For the interested reader, the colour code for “pure white” is RAL 9010:

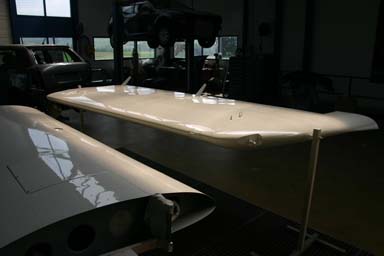
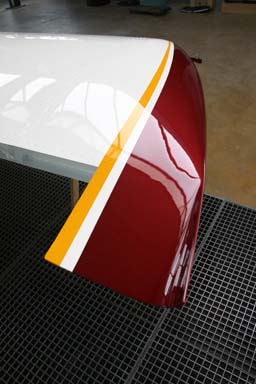
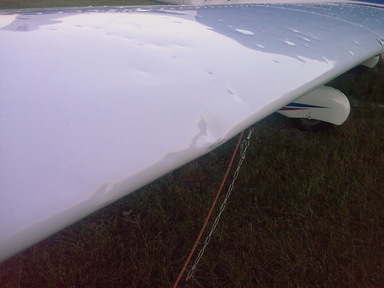
The picture below shows the shine when the sun hits the surface:
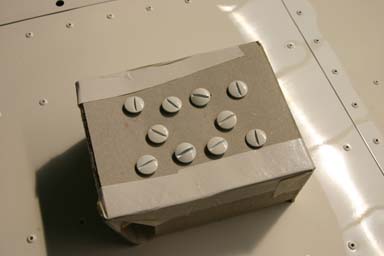
We also painted all the quick locks which are used to close the luggage lockers in the wings. I promised Andy to make a wooden “key” to close them, in order not to scratch the paint with a screwdriver or a coin.
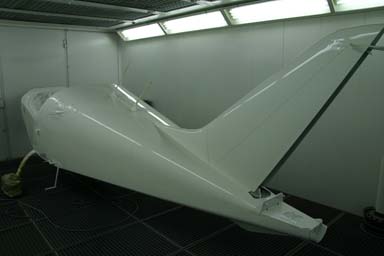
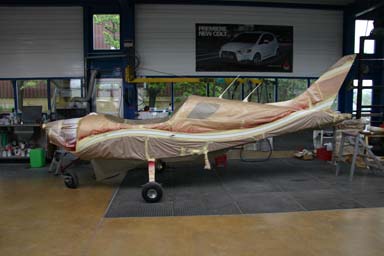
After painting the wings white we continued with the fuselage. We did some final sanding and then went through the whole cleaning process.
After that we moved it into the spray booth where Andy painted it. Painting the fuselage is trickier than for the wings, as it can’t be rotated while painting, which means some of the surfaces are vertical while spraying. This increases the risk of producing runs under the rivets if too much paint is added. The result was however as perfect as the wings, big compliment to the painter:
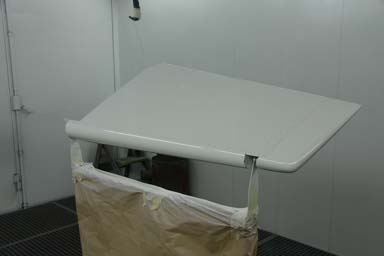
02.05.2009: The next steps will be to finish the wing tips and the fuselage. To draw nice lines between the colours on the fuselage we also need the cowling and the rudder, so Andy painted them first. Here the results for the rudder…
…and the upper half of the cowling.
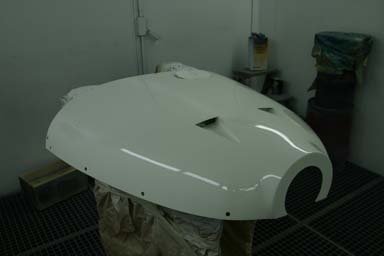
Again an absolutely superb finish. Andy will always be able to point out some details he is not totally satisfied with, but to ordinary human beings the result is perfect…

As soon as you install the rudder the fuselage looks much more elegant.
We then continued with the wing tips. Andy has some special masking tape which is flexible, so you can mark curves much easier than with standard masking tape. It also leaves a sharper edge when removed. We had some discussions on how to make the tips, but finally found a line that will look nice from all anglesy.
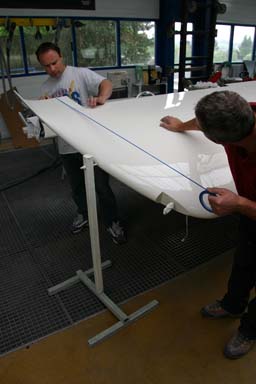
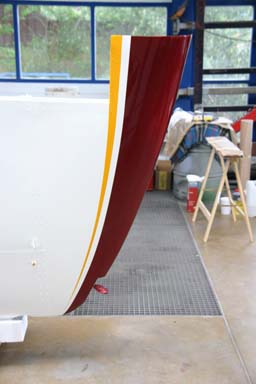
The tips as well as the underside of the fuselage will be red, with a yellow stripe running parallel to the red / white border. Below the resulting lines. We paid attention that the yellow stripe will run just outside the aileron, so that they remain white only. This simplifies painting, as they don’t have to be installed on the wing to draw the lines.
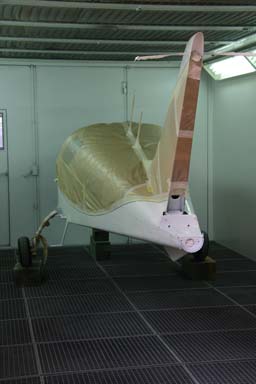
We then had to wrap the whole wings in paper, as even the slightest mist of red will leave traces that can be seen easily.
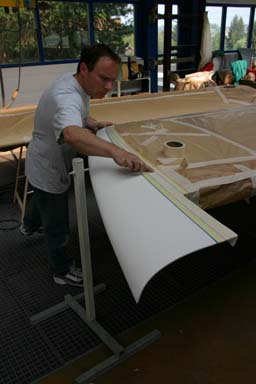
The spray booth is big enough for both wings, so that they can be painted at the same time.
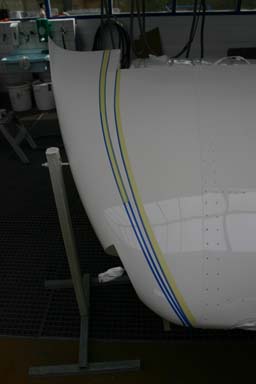
And here the result of painting the wing tips red. Andy added two layers of red and then half an hour later two layers of clear coat. Together with the metallic paint this gives a very nice shine.
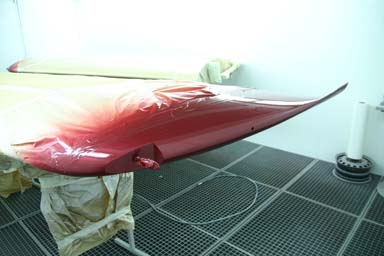
For the interested reader, the wingtips and the underside of the fuselage will be “whine red” (RAL 3005),

with a small stripe of “melon yellow” along the red – white separation lines (RAL 1028).

I only found out once we had ordered the paint that the yellow we selected is the one used by Lufthansa… Maybe like that I get frequent flyer miles when flying with my own plane.
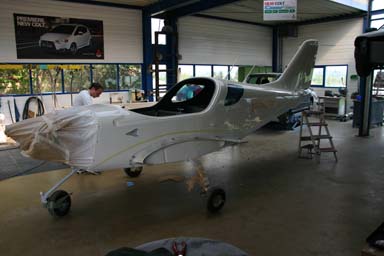
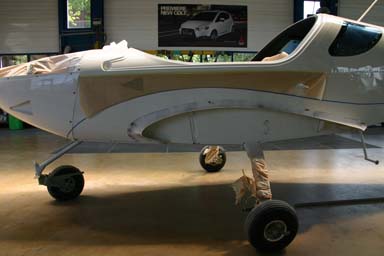
While Andy was painting the wings I started trying to find a nice line for the red part on the fuselage. For that I installed the wing fairings, as they nicely show where the wings will be. The red part will extend far enough above the fairings so that they will be red only, again this will simplify painting. We will probably paint the fairings first and install them afterwards, like that the side of the fuselage will be fully flat when painting. As the fairings are riveted to the fuselage we will however have to hand-paint the rivet heads afterwards, but I guess this is easier.
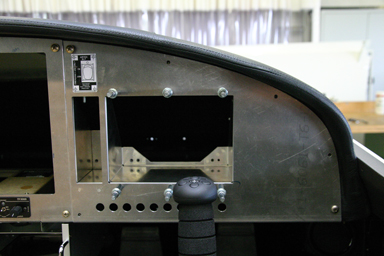
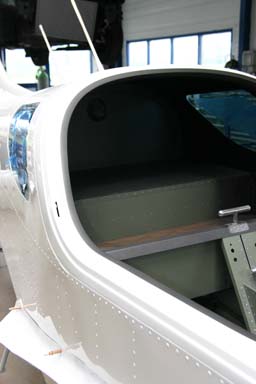
Here for completeness a view into the fuselage. The anthracite can be seen on the rim of the canopy sill as well as on the horizontal bar that runs behind the back of the seats. The bottom of the luggage compartment will be covered with a felt. I am still trying to find a beige one that fits the leather of the seats, but maybe the gray one that came with the kit fits quite well with the anthracite. I will have to try this and see what it looks like.
03.05.2009: Another busy day. This morning I took one of the seats with me to see what it looks like together with the anthracite interior. I also took the felt along that comes with the kit to cover the bottom of the baggage compartment. It is gray and I was looking for quite a while to find a beige one that goes better with the leather, but could not find it. Today I realised that the gray one goes very well with the anthracite, so in the end I will probably use that one.

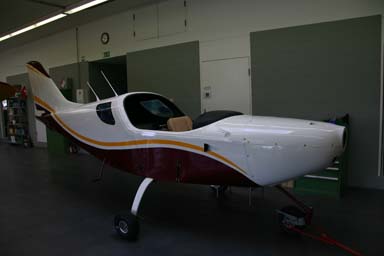
We then took the wings out of the spray booth and unwrapped them. They look absolutely great:
I am very happy with the coulour, it looks exactly as I thought it would.
We then started with the red part of the fuselage. We marked the line with the blue masking tape on one side, then made a template and copied it to the other side. That worked very well.
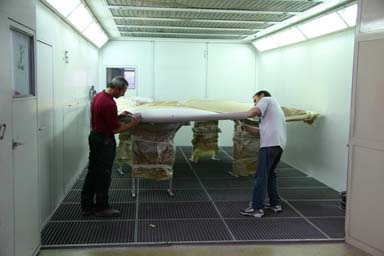
Once the fuselage was in the spray booth we lifted it onto some wooden blocks to make it easier for Andy to paint the underside.
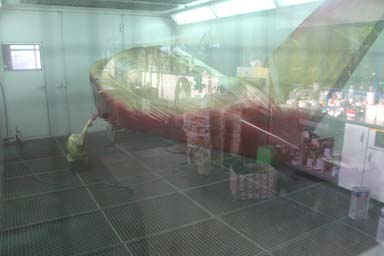
Below the result after the first two layers of red paint were sprayed, photographed through the window in the door of the spray booth to prevent dust from getting into the booth. Unfortunately the last layer of transparent paint produced some runs on some rivets, so we will have to polish them out tomorrow, but otherwise the result is great again.
04.05.2009: Again back to painting. We spent the whole day preparing the fuselage strips. Here the result before going to the spray booth:
I had to leave before the actual painting and I won’t be in Wängi tomorrow so I won’t see the result until Wednesday. It is more work than I originally thought to paint a plane, especially if you choose a three colour scheme with round lines, but I think the result will be worth the effort.
06.05.2009: I could not go to Wängi yesterday, so today I saw the final result of the fuselage painting for the first time. It looks absolutely great. We were hesitating to choose the relatively bright yellow for the stripe, but it really looks much fresher than if we would have taken a lighter red, gray or any other “plane” colour.
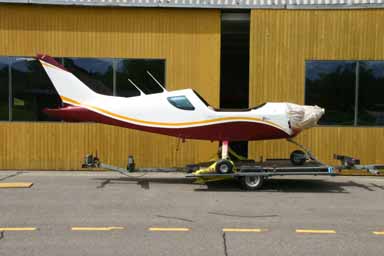
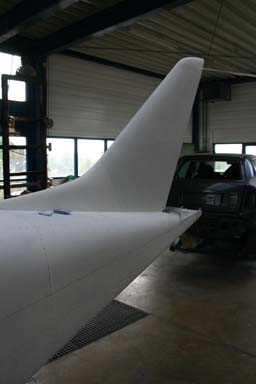
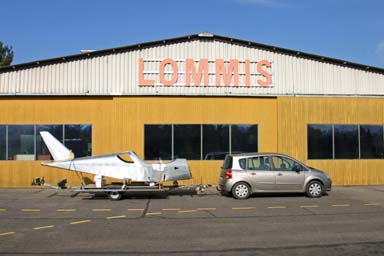
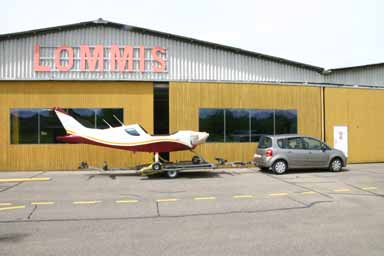
We moved the plane back to the airport. Andy will finish the rudders as well as the cowling at his workshop, so the guys at the garage have their spray booth again for themselves. They have been absolutely great and have given us a lot of support even though we were more or less in their way for about a week.
Quite a difference from the last time we transported the plan to Lommis…
07.05.2009: I am planning the next steps to finish our SportCruiser. The following major issues are open:
- Painting the flaps, wheel pants etc.
- Plumbing/wiring of the engine, fuel lines etc.
- Finishing the centre console
- Panel/electrical system
- Interior
I am aiming at finishing everything until approximately the end of August, so all paperwork needs to be done until then also. This includes also registering of ELT and transponder, insurance etc. But maybe this is too optimistic, only time will tell.
14.05.2009: Sometimes I have to work, or spend my spare time for the flying club, so not much progress over the last few days. I did however look into a number of smaller issues, such as cutting the panel, wiring, making the transparent covers for the NAV lights / strobes, installing the tail strobe etc. Progress on a number of these issues should be visible during the weekend.
Monika Zehnder from Garage Zehnder asked me whether she can put a few pictures of the painting of our plane onto the web page of their garage. Of course I said yes, and here they are: http://www.autozehnderag.ch/content/view/70/74/
16.05.2009: I managed to spend a few hours at the airport today. Just after I arrived a strange version of the Dimona motorglider arrived:
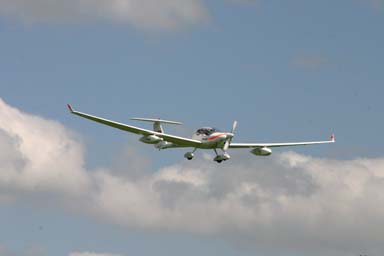
I later found out that it belongs to a company called MetAir, which does atmospheric research with it. The two underwing pods contain instruments to analyse the atmosphere.
I did less exotic work. Next week we want to make the covers for the NAV lights / strobes, so I started with the frames onto which we will mount them. That reminded me of making the canopies of the model planes I built some 30 or so years ago…
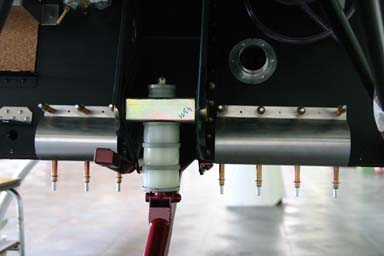
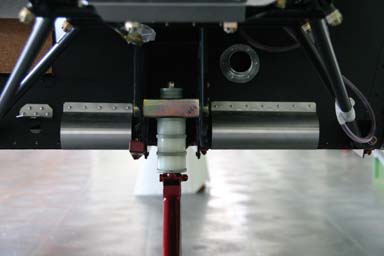
I also installed the two shrouds at the bottom of the firewall. They protect the firewall from the heat generated by the exhausts.
There are less and less rivets in my rivet box, it seems however that we will have enough of them. The only bigger things remaining to be riveted are the wing and horizontal stabiliser fairings as well as the instrument panel cover.
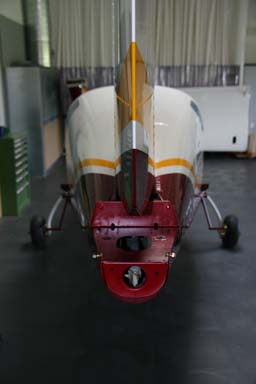
Below a view onto the fuselage from the back. It shows how well we managed to make the painting symmetrical. It took however quite a few hours to achieve this.
17.05.2009: Today I started installing the air conditioning system in the SportCruiser…
Kidding, I just installed the air vents. A huge job, just click them into the holes behind the NACA air inlets. Takes about 5 seconds per side.
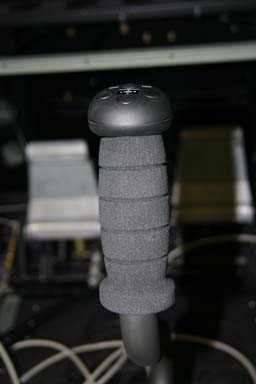
Next I installed the stick grips. The most complicated part is to pull the cable through stick. There is a small hole at the bottom of the stick through which the cable has to be pulled.
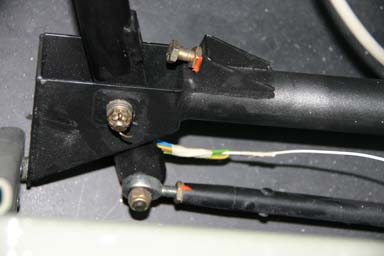
The top then just slides over the stick tube. A small screw has to be added to hold it in place.
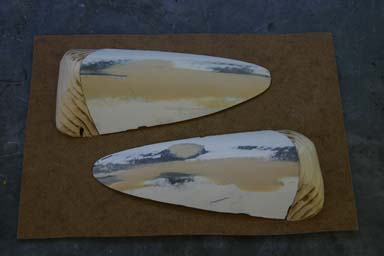
Next week I want to make the covers for the NAV lights / strobes on the vacuum forming machine at our factory, and for that I need a mold. I made it by gluing the two cutaways from the wing tips onto a plank.

I then added wooden blocks to the end, to allow the plastic foil to wrap nicely over them.
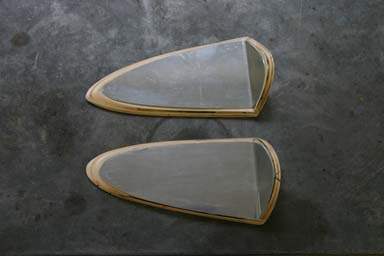
Next I sanded everything, sprayed it with filler, sanded again etc. Below the result. It does not matter that the lower part of the mold is not totally flat, as only the part that wraps over the cutaways will be used.

I also made aluminum insets, onto which the LED’s will be mounted.
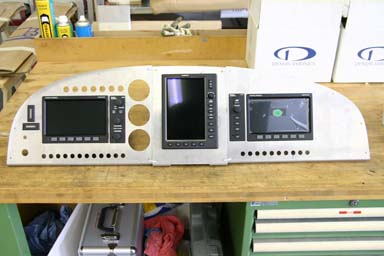
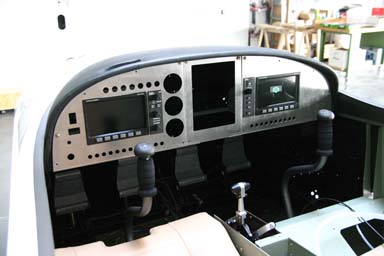
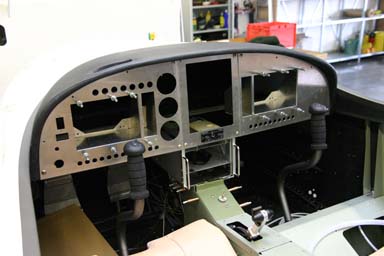
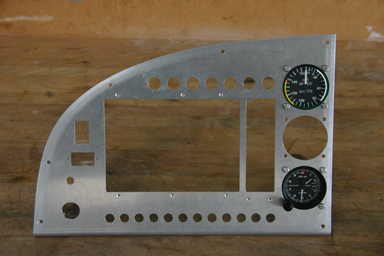
17.05.2009: I received the panel today. The result is absolutely great. The guy who made it for us works as quality inspector at our factory. He is a model helicopter builder who even builds the rotor heads himself, after seeing our panel I’m sure his helicopters fly great. He spent quite a few hours on our panel over the weekend, I definitely owe him something. Of course I had to go to the airport after I received it to see whether everything fits, and as far as I could see it does.
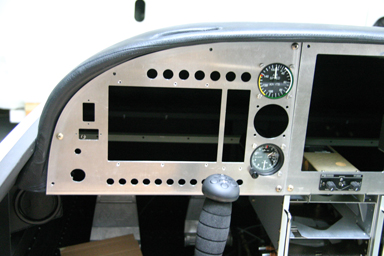
18.05.2009: I only had a good hour at the airport today. My panel assembly attempts confirmed that everything seems to fit perfectly. So far I did not find any problems, the panel just looks as I hoped it would. The EFIS is exactly in front of the stick, and all the switches and buttons are easy to reach. Our mechanics placed a bigger order at Aircraft Spruce today, so I took the chance and ordered the missing circuit breakers. They should be here quite soon.
I also fitted the cowling. Unfortunately I found two places where I still have to trim it a bit, but it is in places you can’t see when it is mounted, especially under the spinner.
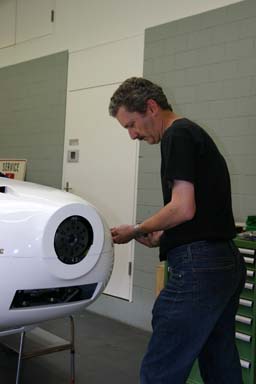
The cowling does however already make the lines of the fuselage look very elegant.
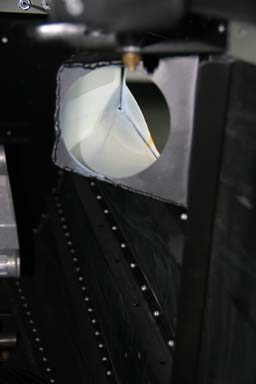
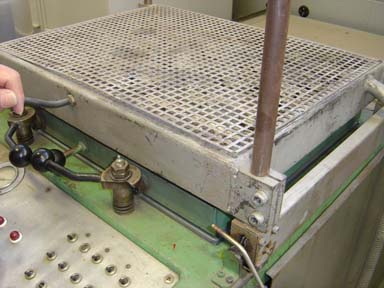
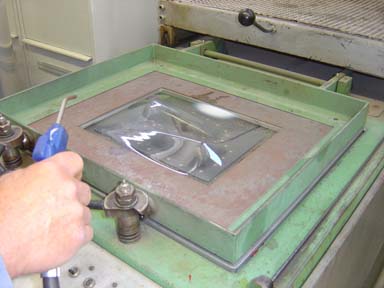
20.05.2009: Today Rolf went to the guys at the factory to make the covers for the NAV lights / strobes on the vacuum forming machine. First you have to fix the transparent plastic foil in the machine. We got ours from a fellow who is building model planes.

The foil is then heated and finally a vacuum is produced underneath the form, sucking the foil over it….
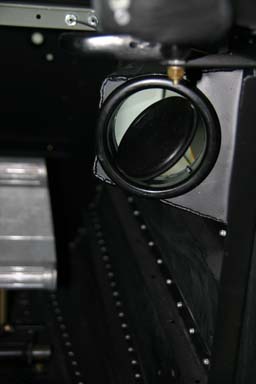
Here the result..
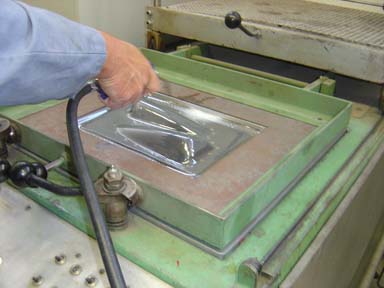
and the same seen from the other side. After cooling it a bit with compressed air the foil can be removed.
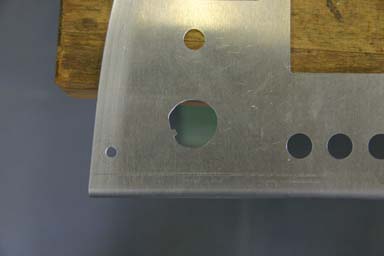
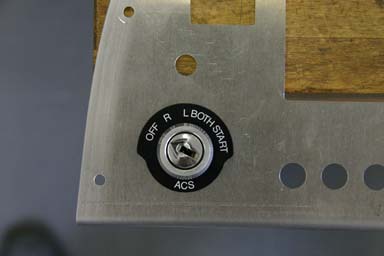
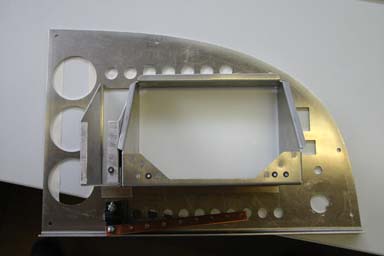
21.05.2009: I started with the mechanical work on the panel today. First I enlarged the hole for the ignition key. The hole was pre-cut to 18 mm on the milling machine, but had to be enlarged to 22 mm with a small “nose” remaining. This prevents the switch from rotating in the hole when twisting the ignition key.
Below the key installed.
Next I installed the trays for the Dynon equipment. I will rivet them with solid rivets to the panel, but I need two more hands to do that so, for the time being they are clecoed in place. Below the left (pilot) section of the panel, seen from behind, and the right (passenger) section seen from the front.
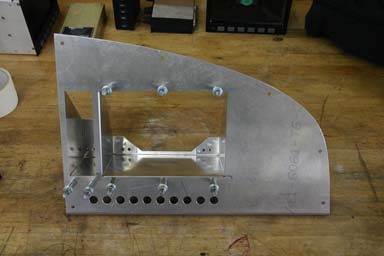
Finally I installed the first element of the avionics, the intercom. It’s a PM3000 from PS-Engineering. We selected it because it is affordable and is Stereo, which allows us to listen to music while flying. Do to that we will install a connector to hook up an MP3 player.
Below the panel with the avionics trays and the intercom installed. The Garmin GNS430 and the GTX330 transponder will go in the widened centre section below the intercom and just above the fuel selector.
22.05.2009: I continued on the panel today. I only had about an hour, but I managed to add two more instruments:
Again everything still seems to fit. The spot in between the ASI and the altimeter is reserved for a 2 1/2″ gyro, which I will need to do night flying. I am not sure, however, whether I will be able to get a permit for night flying, as I don’t use a certified engine and propeller, but who knows. For the time being I will probably put a blind cover onto the hole.
I had a look at the homepage from Michael Wellenzohn, who is building an RV-10, and realised just as he did that I have forgotten to place the remote ELT switch onto the panel. There is always something to be learned from other builders log. I will probably place the switch on the right side of the panel above the EMS, like that it is easy to reach and visible to the pilot.
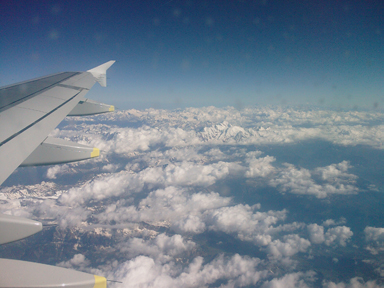
29.05.2009: I have spent the last three days in Madrid, Spain, so little progress. On the way back we had a beautiful view on the Mont Blanc, a motivator to build faster.
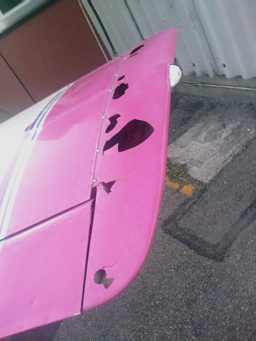
When I came back I learned that there was a terrible hail storm over our airport last week, which did incredible damage. The roof of our hangars has holes, with a number of planes inside receiving light damage due to pieces of the roof material falling onto them. The real damage was however to the planes parked outside. Below a few pictures I took yesterday evening:
The wing tip of a Piper Warrior looks as if someone shot through it with a gun. The wing surface has dozens of dents, but our mechanic considers it repairable.
An FFA Bravo as well as a PZL Wilga parked outside also received repairable damage, such as dents in the wings and fuselage, and in the case of the Wilga also smashed front windows. The worst hit however is a Tecnam. The wings are not only dented on the upper surface but also on the leading edges.
Any protruding things, such as the stall warning switch, have been smashed.
It is quite obvious that the thinner the wing skin the more significant the damage.
I am really lucky that my plane is not yet finished and currently inside the workshop, which has a stronger roof than the hangars. Like that it escaped any damage. Quite worrying to think that it will be parked outside from the middle of the year. I am on the waiting list for a hangar place, but non is currently free. I might consider finding a temporary spot at another airport until one becomes available in Lommis.
30.05.2009: Today I learned that the roof of the workshop where we painted our plane some weeks ago has been smashed by the hail storm and the car that was standing where our plane stood has been heavily damaged. Lucky we are…
This afternoon I installed the propeller to see whether everything fits. Looks great…

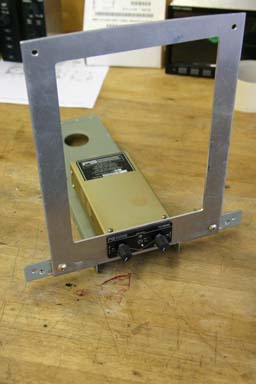
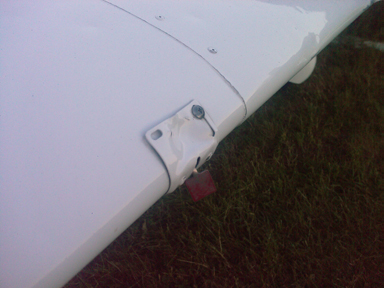
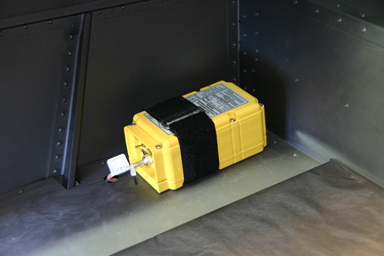
I then prepared the installation of the ELT. We have an ME406 from Artex, which uses the new 406 MHz frequency. This is mandatory for any newly registered planes in Switzerland, and might become a mandatory retrofit for all planes soon. The main unit is installed in the baggage compartment.
I forgot to place the remote switch on the panel, so I made a paper template to find a good spot. Below a picture of where I might install it. I prefer it to be easily visible (in case of accidental activation) and reachable (in case of a real need to activate it manually), so I will probably put it near the centre of the panel above the autopilot.