
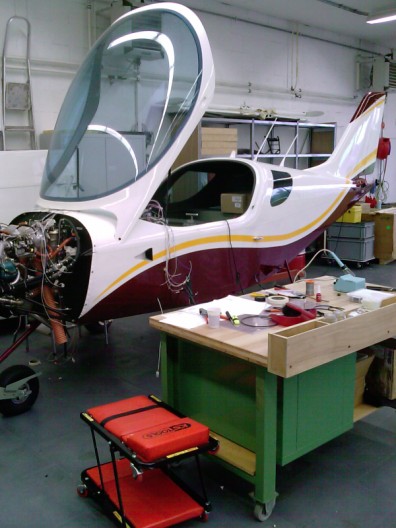
03.05.2010: I am back in Europe and back on the project. Even though I have enjoyed the three weeks in sunny Florida. I am happy to be able to work on the plane again. I really want to finish it in May.
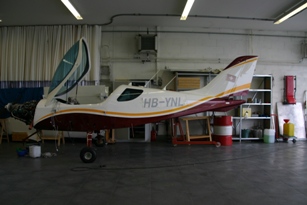
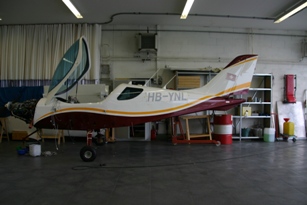
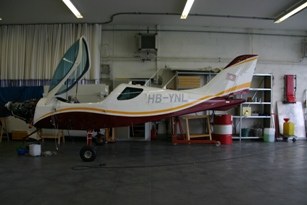
The first thing that happened today, however, is hard to believe. Kuerzi Avionics, the avionics company next to our maintenance workshop, had a customer coming with his Europa kitplane (on a trailer) to perform the last tests required before the first flight (transponder test, compass calibration etc.). The call sign of the plane is HB-YNK, which comes in alplabetic order right after mine. When I heard the name of the builder it sounded familiar, when I saw him I realised that we had studied Electrical Engineering together for one semester nearly 30 years ago! What a way to meet again after such a long time.
We had of course a lengthy discussion about kitbuilding, and all the rest that happened in 30 years.
I then continued with the wiring.
05.05.2010: More wiring today.
06.05.2010: And the same again today. I am slowly making progress, but it is amazing how many cables go into such a small plane.
07.05.2010: More wiring today. I also had to do some work for the CAMO of our club, as well as make an update to the MOE of our maintenance workshop, which kept me busy for half of the day.
10.05.2010: All cables are now nicely bundled, I just have to finish adding some connectors as well as hooking up all the ground leads to the ground bar.
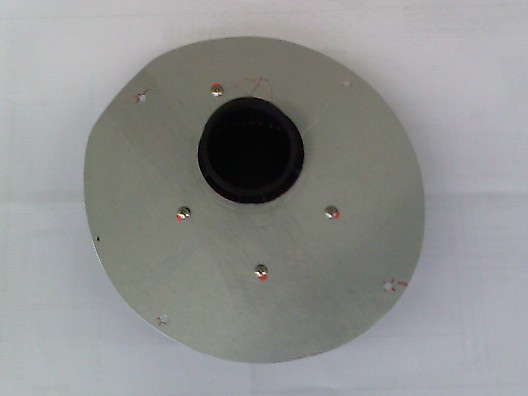
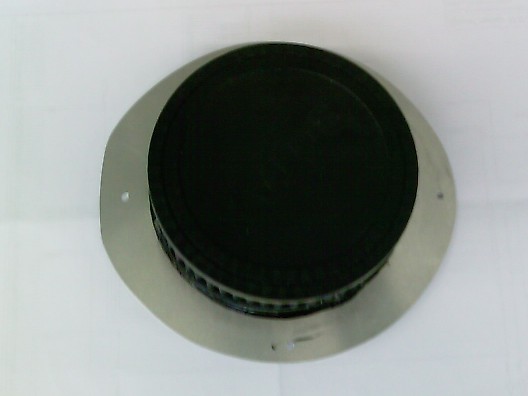
In the meantime Rolf mad a nice plate to attach the air filter. We did not like the standard way of mounting it as defined in the kit, so we designed our own version. I have seen that other builders did the same.
I will be off again for the rest of the week, that will allow me to finish the schematics, as well as some other paperwork. I expect to start powering up the electrical system next week.
14.05.2010: I returned to Jacksonville, Florida a few days ago to meet a customer, and should have flown back to Switzerland yesterday evening. It seemed to be one of those typical, short business trips, where one spends most of the time either at work or in hotels, cabs, rental cars, airport lounges and planes.
Shortly before I wanted to drive down to Orlando yesterday afternoon, from where my plane was booked, a colleague told me that I just could not fly home on the 13th, as one of the last space shuttle launches would take place from Cape Canaveral today at 2:20 PM. I of course would not miss such a “once in a lifetime” chance, so I rebooked my flight for today, 8 PM, extended my rental car and booked the hotel for an additional night.
Cape Canaveral it more or less on the way from Jacksonville to Orlando, so instead of driving directly to Orlando I made a stop in Titusville, which according to the all-mighty internet is one of the best spots to watch a launch, and only one hour from Orlando.
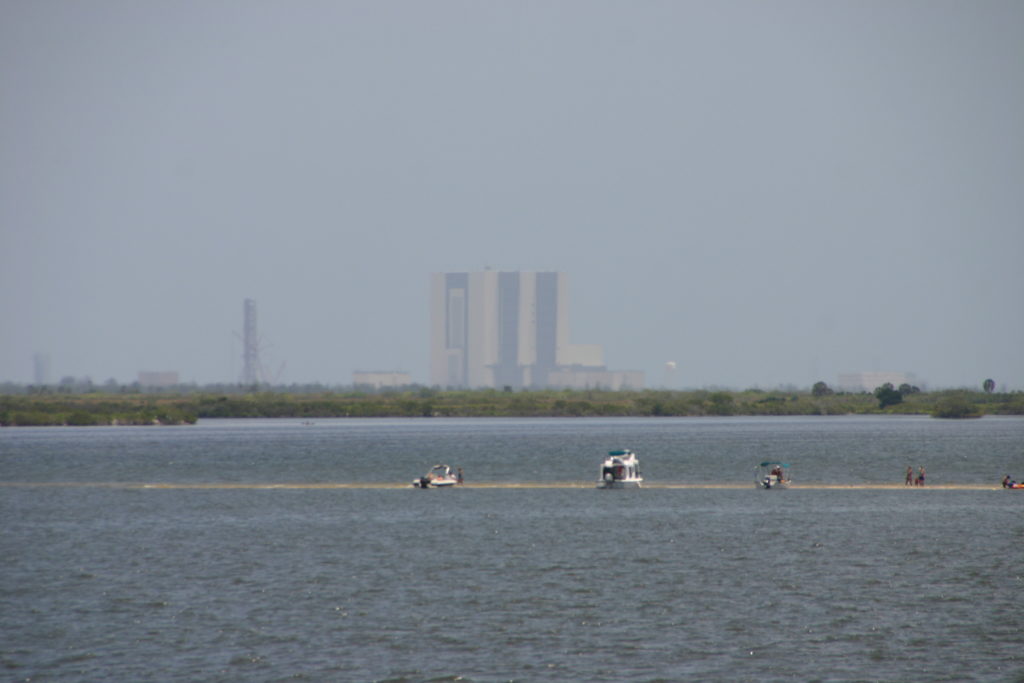
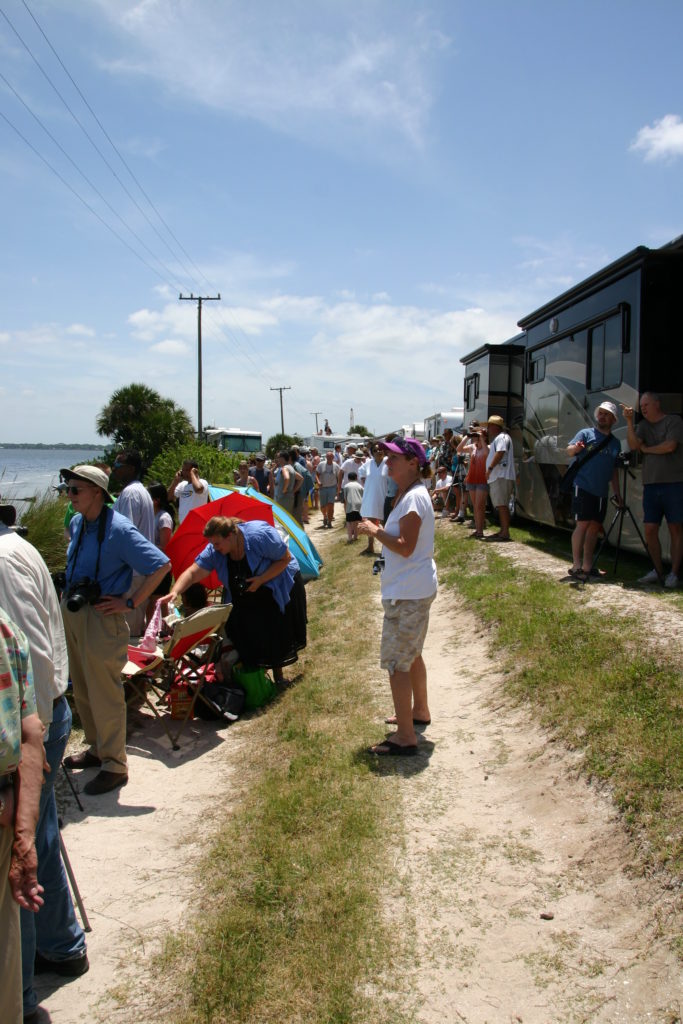
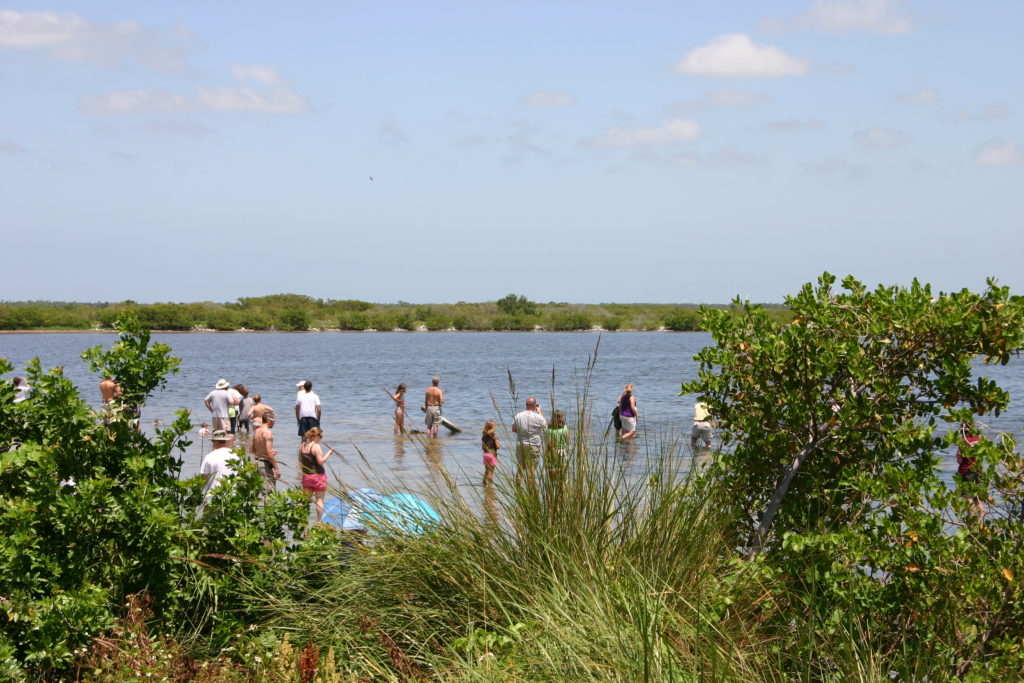
When I arrived in Titusville there was quite a crowd along the beach facing the cape, but it was no problem to find a parking spot. Below a view at the Vertical Assembly Building from around 10 miles away, which is about as close as you can get.
People told me that the crowd was larger than usual, as the space shuttle program slowly comes to an end (there are only two more launches scheduled after the one of today), so the public interest has again grown significantly.
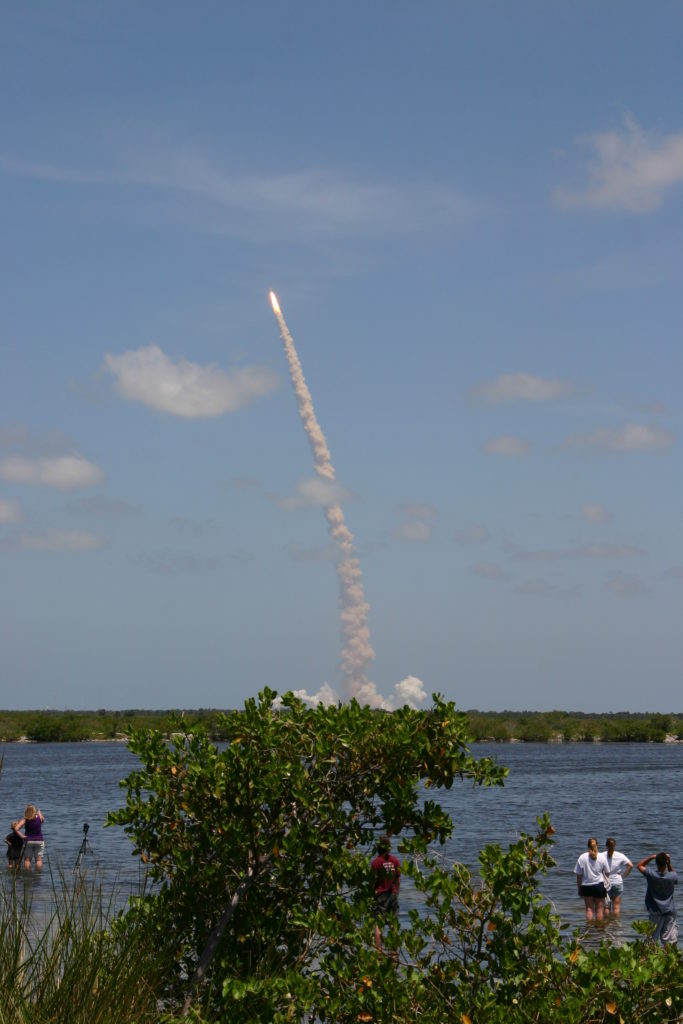
And here it comes. It is amazing how the fire of the engines is much longer than the shuttle itself.
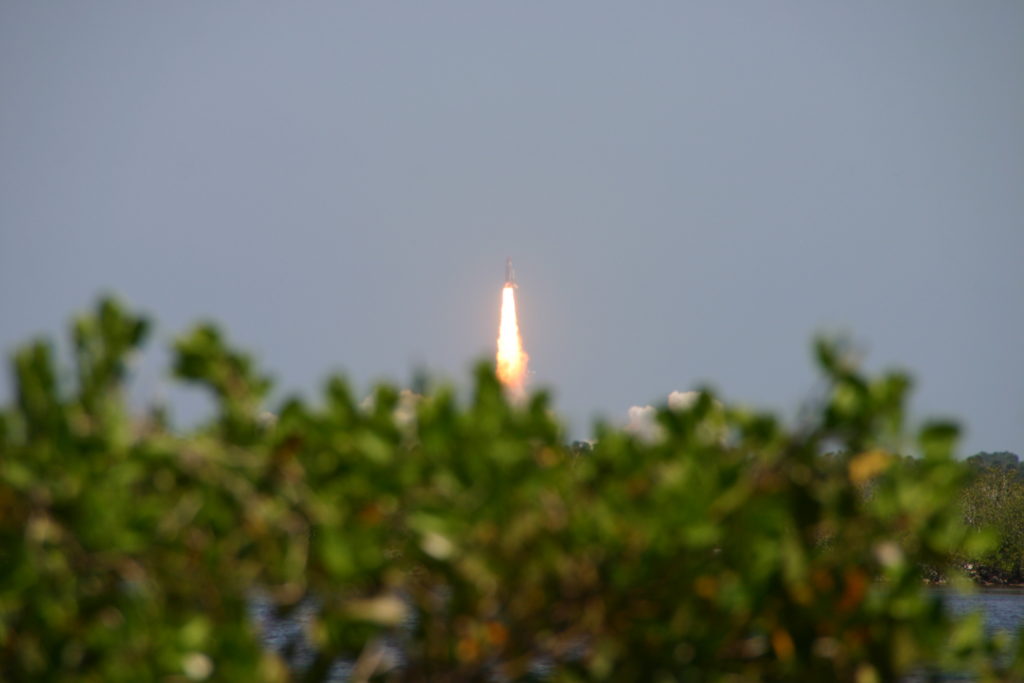
It takes around 45 seconds from the start of the launch till the noise can be heard. It’s just amazing to watch.
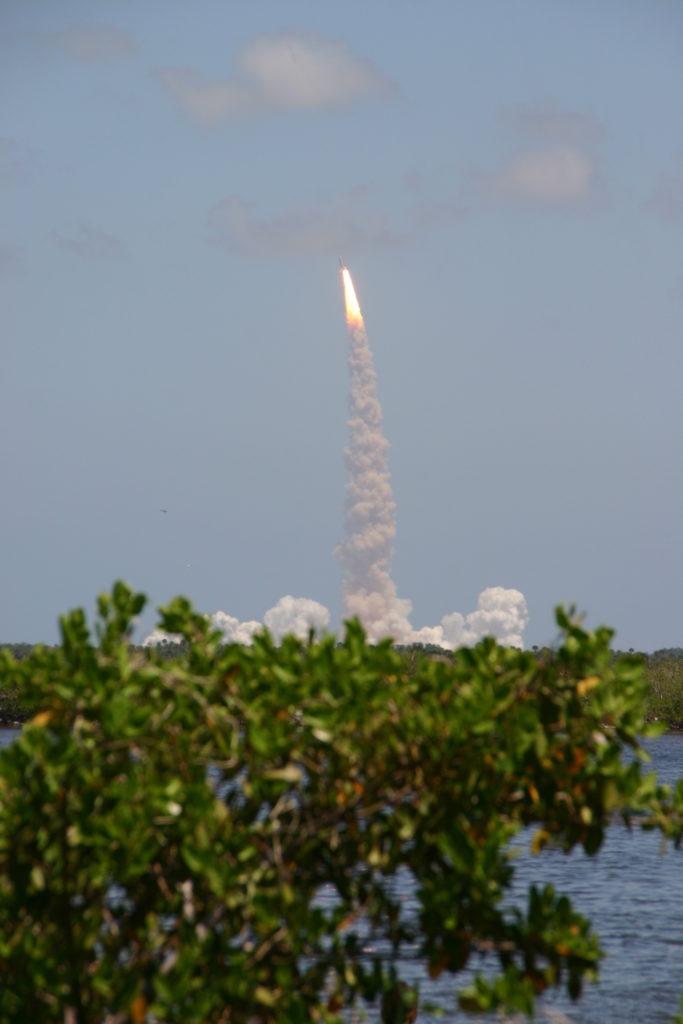
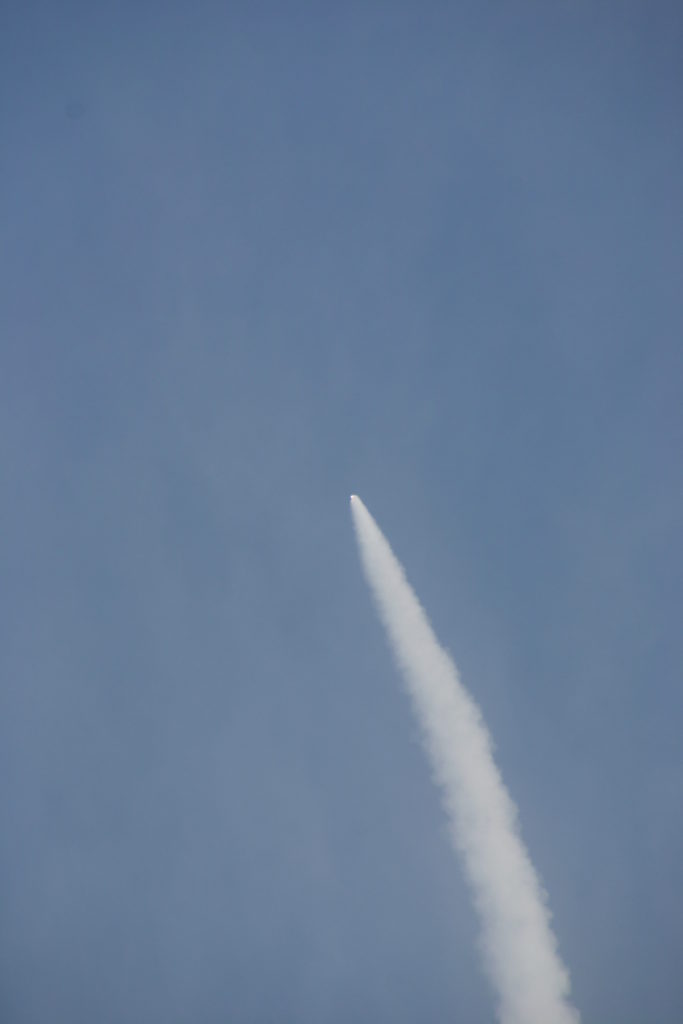
Here a more detailed view, I wonder whether they also have EXPERIMENTAL written on it.

Here an attempt to enlarge a picture so that once can see the solid propellant booster moving away from the shuttle.

According to the radio there were around 9’000 spectators watching.
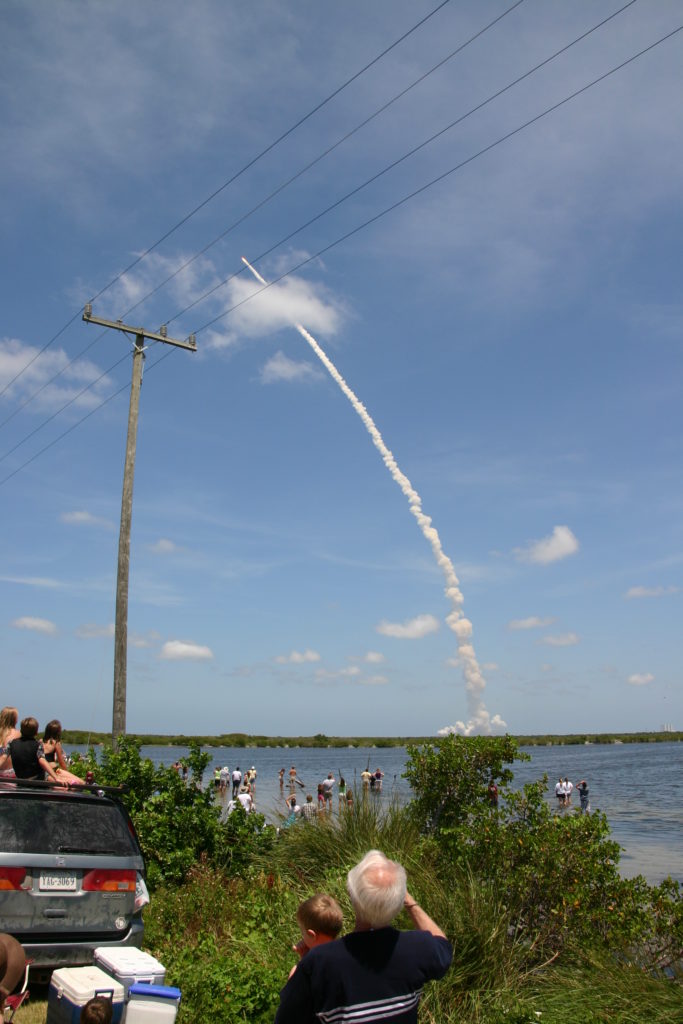
Whoever has a chance to go and see one of the two remaining launches should take it, it is truly an awesome sight.
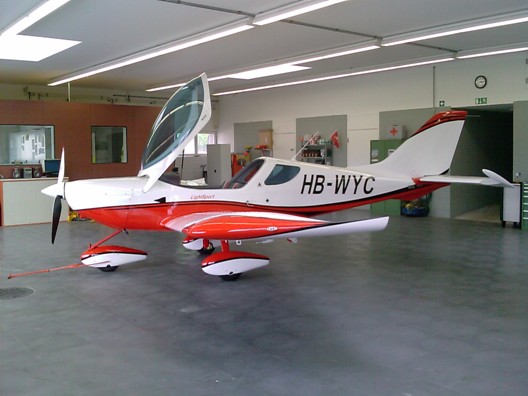
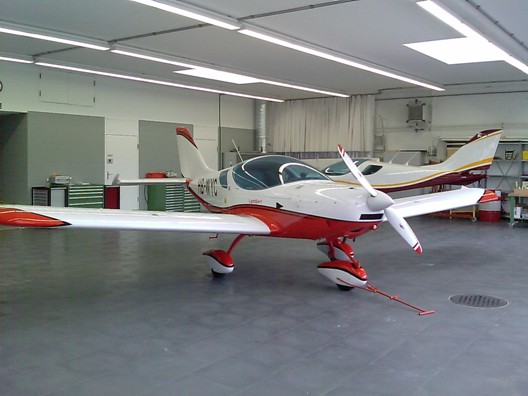
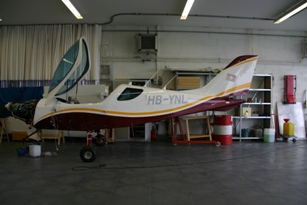
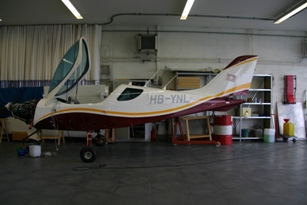
14.05.2010: I am back in Europe, tomorrow I will continue with my wiring saga. I went to the airport this afternoon to show my kit to a visitor and saw that the Club’s SportCruiser has finally arrived.
17.05.2010: I am back from Florida and fully into wiring again. Rolf made a small circuit board onto which all the small fuses go, as well as all the pull up resistors for the sensors and the voltage regulator for the adjustment of the instrument lighting. That gives a cleaner wiring, but also more work..
18.05.2010: Wiring again, but I slowly see the light at the end of the tunnel. Rolf made a new bracket to mount the water radiator, as it touched the cowling when using the factory supplied one. The new one is much better, we now have sufficient clearance against the cowling, the engine, exhaust pipes and the oil filter. I noticed on the factory built plane that the spacer onto which the propeller is mounted is 65 mm thick, where else the one we got is only 35 mm, they probably found out too that the room around the radiator is a bit tight. For the club plane we ordered the ground adjustable Sensenich propeller too, as we did not want an adjustable pitch propeller as we are renting the plane to very low time pilots. I saw at Sun & Fun that Sensenich now make a three blade version, I think I would probably use that one now as they claim it is even quieter and also gives more ground clearance.
20.05.2010: Today we more or less finished the wiring! I am still missing the cable to the Garmin 695 GPS, but I can add that one later.
Tomorrow we can start powering up everything, I hope we won’t find too many errors… It doesn’t look too bad however, as we finished with all the ground connections and in the end everything matched with the schematics. We will see. What I will then also have to do is to configure all the devices, upload the newest Dynon software onto everything etc.
I also have to decide where to put the registration onto the fuselage, as I got the new stickers yesterday. I had some made by Czech Sport Aircraft, but they where 30 cm tall, like the ones on the SportCruiser HB-WYC shown above in the entry for the 14.05.2010. We later found out that the lettering on the fuselage only needs to be 20 cm tall, which will make the plane look nicer, so Silvan decided to have new ones made for HB-WYC. I told him to have some smaller ones made for me too.
I had a look at a number of pictures on “Sportcruisers on Tour”, a website that has pictures of many of the SportCruisers flying around the world. From that I found out that it really looks best when the registration letters are parallel to the horizontal line of rivets on the side of the fuselage, regardless of the paint scheme.
The paint scheme however has an impact on how far back on the fusleage the registration should be put and at which hight. To decide which position looks best I temporarily fixed the stickers at a number of positions and then took a photo of each version. The result is as follows:


I will probably go for the second one, or the second last in the row, but I will first try the other side too. In case somebody wonders about the small Swiss flag on the vertical stabiliser, we have to put that on too as the HB- registration is used for planes form both Switzerland and Liechtenstein. That small flag is therefore part of the official registration, and of course specified in detail by the Swiss Office of Civil Aviation both in regard to size and to where it has to go. We also have to write EXPERIMENTAL on both sides of the fuselage, and again that is specified in detail (30 mm tall lettering, all capitals, line width 1/6th of the height of the letters etc. etc….). This goes together with a placard on the panel which warns passengers that the plane is only certified to reduced standards as it is homebuilt.
20.05.2010: Yes, we more or less finished the wiring today! There are only a few items open, such as hooking up the Garmin GPSMAP 695 (we are still missing the special cable), adding two potentiometers to control the HS34 audio level as well as the lighting brightness, and adding the rear position / strobe light, but we could none the less start powering up the whole thing.
We used as smaller external battery that we hooked up to the external power receptacle and added an external circuit breaker between that battery and the plane as additional protection before applying power. I also disconnected the power lead going to the starter to prevent the propeller from turning accidentally. I then first checked whether the 12 V reaches the main switch and then activated it to see whether those items that are directly powered from the main bus bar (through circuit breakers of course) work (flap motor, flap indicator, trim etc.). They did without any problems, so I continued with the instruments switch. That one did not work as expected, instead of the Dynons the FLARM started up. I found out that I had crossed out the “Instruments” and the “Avionics” switches, so that could be easily corrected .
After that everything worked fine except that two of the indicators on the panel that warn that the canopy is not locked, respectively the flaps are not fully retracted, were crossed out as well. That was also easy to correct, I could just swap the two leads which go to the respective switches. I then started with the GNS430W and the GTX330, and the powered up fine. What does not yet work is the audio system. I can’t hear anything in the headset, so there might be another small error or I first have to configure them. I will read the manuals and check the schematics over the weekend to see what the reason could be. Otherwise the units seem to work fine. If I press the PTT switch on either stick the radio transmits, if it receives a signal from another radio this is shown on the display too.
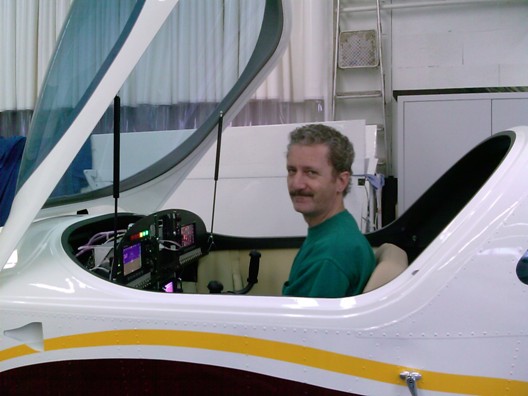
Here a picture of me during testing….
…as well as one from the panel under power. The GPSMAP 695 is not yet installed, it will be in the centre of the panel.
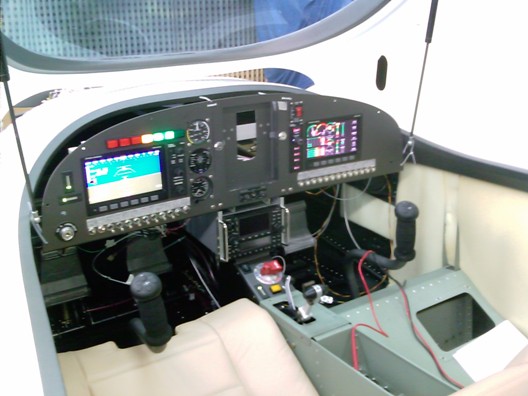
For those who wonder, there are seven indicator lights above the EFIS. The red ones are urgent warnings, respectively warnings that shall not persist for a longer time and require immediate attention (EMS Warning, Starter Engaged, Canopy Open), the yellow one requires attention within reasonable time (Alternator Failure) and the green ones are just for information (Fuel Pump On, Pitot Heat Off and Flaps Extended).
The switches below the EFIS are organised in a way that they are more or less used from left to right in sequence when starting up according to the checklist, respectively from right to left after a flight. First there are “Main”, “Instruments”, “Avionics”, “Strobe Lights” and “Nav Lights”, which after being switched on remain in the on position during flight. After that there are the switches for the “Landing Lights”, “Taxi Light”, “Instruments Lighting”, “Pitot Heat” and “Fuel Pump”, which are all used only during certain phases of a flight. The two circuit breakers on the pilot side are for the trim motors, respectively the autopilot servos, and can be pulled in case there are any problems with the servos. All other circuit breakers are on the passenger side.
21.05.2010: I quickly went to the airport to check whether I hear something in the headset if I connect my iPod to the audio input, and I do. That means that the intercom works, so it might be that I have crossed out the audio in- and outputs between the GNS430 and the intercom. I will check that next week. I will also have to update the Dynons to the newest software release and then configure everything.
26.05.2010: Today I updated all the Dynon units to the latest software release. Everything went smoothly, except that I had to update the EFIS twice. In the first pass only the EFIS was updated and not the autopilot, probably due to the old software not supporting the autopilot at all. During the second update the autopilot and the servos were updated too. A first check showed that everything works, including the autopilot. There is quite a smart autopilot setup routine that asks you to move the stick to the four maximum positions (down left, down right etc.), from which it detects which servo does what (aileron respectively elevator), what the direction of movement is and the maximum travel. That’s really easy, you don’t have to worry about any of this during installation.
I also hooked everything up to the main battery, as the small one we used so far just does not deliver sufficient power once everything is running. I again disconnected the lead to the starter, just as a protection. I also noticed that a cover over the + battery connection is really needed, and that care is required when tightening the battery connection screw to prevent producing a short circuit towards ground.
27.05.2010: Today we installed the horizontal stabilizer and the elevator. We also continued with the configuration of all the electronics.
28.05.2010: We finally found the problem with the radio! We had an error in the wiring (due to counting the pin sequence from the wrong side on the lower row of the 25 Pin Sub-D connector on the GNS430), which left the audio output low signal unconnected, instead of connecting it to ground. That meant that the audio output high was “floating”, which resulted in a much too low signal level. After correcting the error the radio worked perfectly. I also finished configuring the Dynon HS34, to which the GNS430 connects, so now the GNS430 GPS as well as NAV outputs appear on the HSI on the EFIS. Cool, even the three (!) airline captains which passed by today to have a look at the cockpit were impressed, they say it compares favorably to the avionics on the Airbus A320’s they are flying.
I also finished configuring the Dynon-180 EMS, so now all sensors show values which make sense. The next step will be to run the engine!
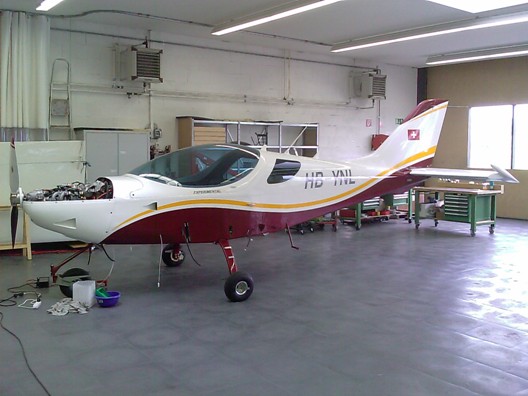
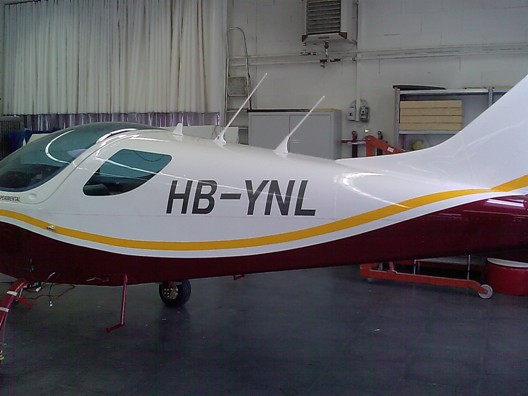
Next we finally put the call sign on the fuselage. Silvan’s advice to go for italic characters, as well as make them anthracite instead of black was definitely right, it looks much softer that standard black characters. Here a picture of the fuselage…
…and a closer look at the call sign.
We had lengthy discussions on where to put the little Swiss flag (which is mandatory), and finally put it more or less in the middle of the vertical stabilizer (see below). Both the call signs and the flags are 3M stickers made by a local print shop. They are easy to apply, durable, but can also be removed without traces. I have a set of “NO PUSH”, “NO STEP” etc. stickers already, but I might have them made again in the same anthracite colour as the registration, just because it looks nice.

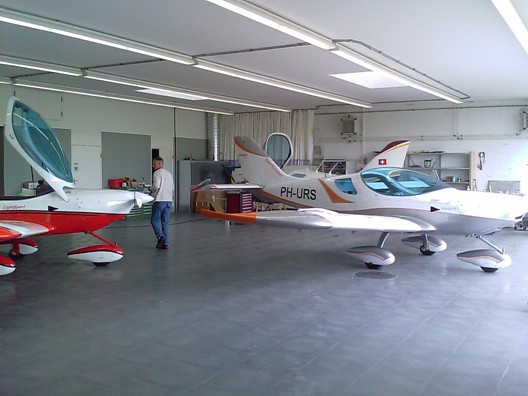
In the afternoon Urs came to Lommis to have a sun shade installed in his SportCruiser, with the result that we had three SportCruiser in our shop.
30.05.2010: I just had an hour today to work on the plane, so I went to check which placards I need by taking pictures from the factory built plane. I also took a picture of the cover we made for the shunt resistor which is used to measures the electric current drawn by the panel. The shunt resistor is quite exposed, risking a short circuit when using e.g a screw driver under the panel, so we decided to make a cover to prevent this. I later discovered that the factory built planes now have a similar cover.
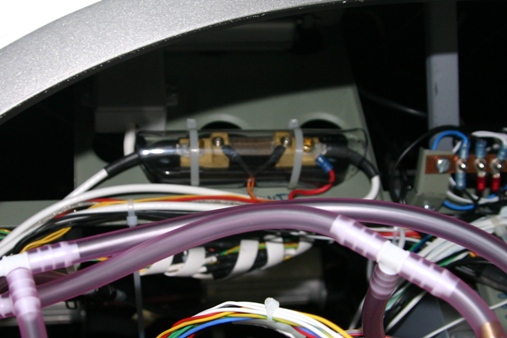
The cables are not yet fully tied together, I will do that once I have finished testing the electrical system.