
01.01.2010: This is definitely the year where my SportCruiser will fly! To get there I have however still quite a few things to do. Today I could just spent a few hours at the airport, during which I mostly worked on the electrical schematics, but I also sorted out the carpets as I want to finish that too.
Here the carpets that came with the kit:
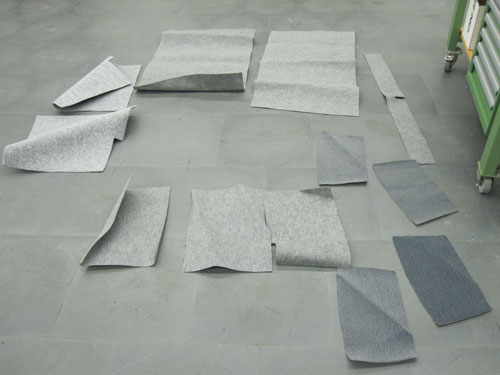
For most of them it is quite obvious where they go, but with the three in the centre I am not quite sure. I do have a document that describes how install the upholstery in the fuselage, but it is based on an early version of the SportCruiser and therefore not fully applicable. It also does not cover the installation in the baggage lockers, so I will probably go and have a look at the plane of Urs to see how it is done there.
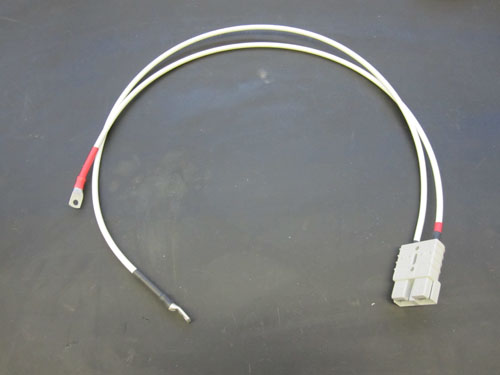
05.01.2010: Today I found the connectors for the external power connection. I just went to a local car tuning shop, and they recommended the Anderson SB 50 type, which seems to be kind of a standard. They are also frequently used in solar power applications. The ones I am using are rated for 50 A, which should be sufficient to jump-start the engine from an external power source in case the onboard battery goes flat. Here a picture of the connectors:
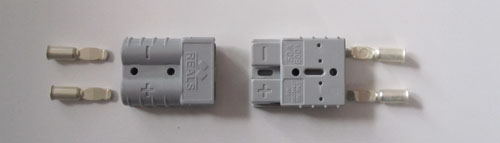
They are only 30 g each, so they won’t add too much weight. I will run a cable from one directly to the battery and attach it to the firewall near the bottom edge just below the battery. I will add short leads to the other one so that I can hook up an external battery without removing the cowling.
09.01.2010: I spent a bit of time at the airport today, however I spent most of it finishing the Continuing Airworthiness Management Exposition for our flying club. We are offering sightseeing flights to the general public, which means EASA considers us to be an airline (!), so we have to have our planes under the control of a Continuing Airworthiness Management Organization (CAMO). To do that with an external provider would probably cost us more per year than the turnover from selling flights, so we decided to establish our own CAMO (we are also a Part-145 certified maintenance facility, but that’s another story). And as I am the technical manager of the club it is on me to do that…
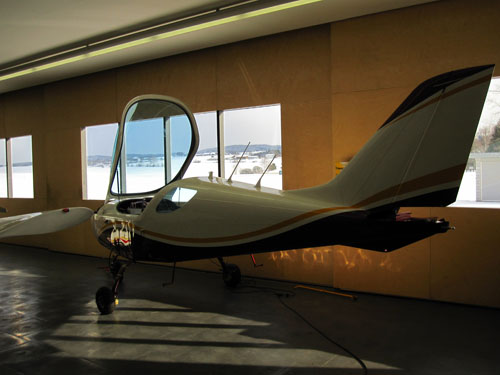
10.01.2010: Today I repaired a minor damage I made some time ago (I think it is the only one so far apart of one or two incorrectly drilled holes) when painting the fuselage. When masking the interior I did not pay attention enough to the load limit of the baggage area and knelled into it with one knee. By doing that I slightly bent the stringer that runs under the floor of the baggage area next to flap motor access cover. I did not want to drill it out, as it includes the anchor nuts to hold the access cover, so I decided to add a second stringer parallel to the first one as a reinforcement, as can be seen on the pictures below.
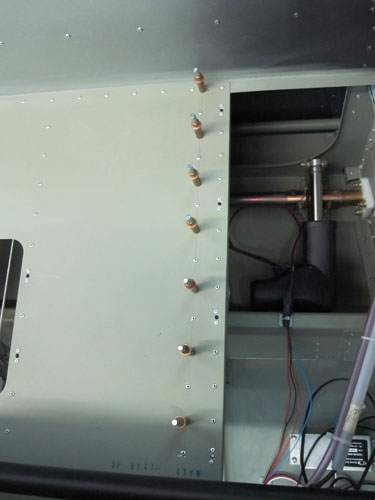
The whole thing went in smoothly, and now the floor is fully straight again and even stronger than it was originally.
17.01.2010: Today I continued wiring the panel. I had however only two hours at the airport, which is not really much to get anywhere. Non the less I managed to finish all the larger cross-section wires, for which I could again borrow the big crimping tool from Kuerzi Avionics. Thanks guys.
I also started drawing the schematics using PCB123 Schematic , a freeware program. To speed up things I got the schematics from Sandro, the second Swiss SportCruiser builder, so I only have to add the changes where my avionics differ from his.
27.01.2010: I had planned to spend a full day at the airport, but as I might have to go overseas on a business trip next week on short notice I spent most of the day organising that trip. Luckily Rolf came too, so he could get a few things done.
First he installed the switch for the canopy lock warning light. I consider taking off with an unlocked canopy quite dangerous so I decided to install a warning light for that.
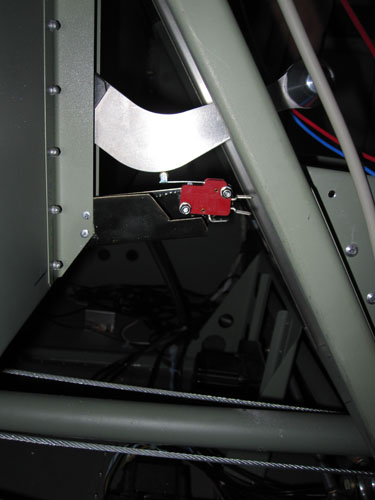
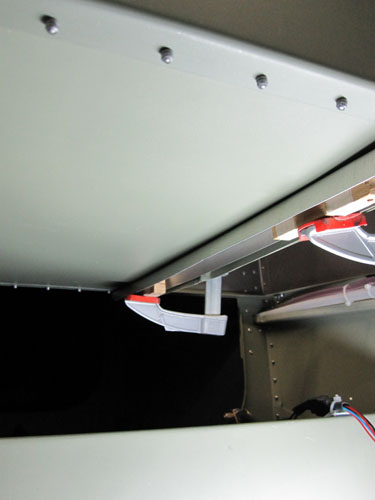
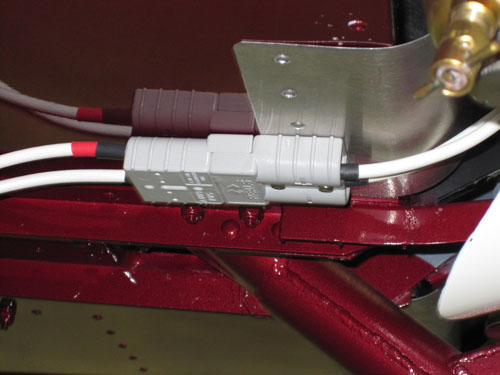
Then Rolf installed the connector for the external power hookup. We decided to put it on the underside of the fuselage just behind the cowling. There it is well protected, but non the less accessible from the outside without having to remove the cowling. A short cable goes from the connector directly to the battery above.
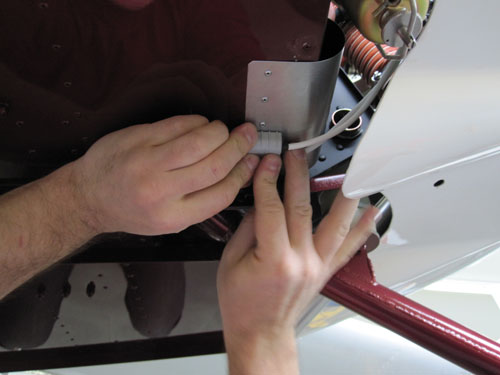
We then made a short cable that we can plug into the fixed connector, and to which any standard 12 V jumper cable from a car can be connected. Like that we can jump start the engine from any car battery and then remove the cable while the engine is running without risk. Still the cable is very light, so it can stay in the plane all the time.
Her a picture with the jumper cable installed.
30.01.2010: I had a few hours today where I could work on the schematics and sort out the cables. It was wonderful winter weather..
…but unfortunately the snow means that our airport is closed.
I will definitely not see snow next week, as I have to go on a business trip to Florida, but the following two weeks I have more or less off to work on the plane.